How to Edit a PDF on a Chromebook
By
![]() Emily Shaw
| on
Emily Shaw
| on
Chromebooks are a unique breed of laptops. Unlike traditional laptops running Windows or macOS, Chromebooks operate on Chrome OS. This web-based system primarily uses the Google Chrome browser for most tasks. This setup means you can't download and install software from the internet like you would on other computers. Instead, you rely on web-based applications and programs from the Google Play Store.
While there is no "better" choice between a traditional laptop or Chromebook, the options for editing PDFs will differ. In this guide, we'll walk you through everything you need to know about editing PDF files on a Chromebook.
Table of Contents
Is There a Built-in PDF Editor for Chromebooks?
The short answer is no. Chromebooks don't come with a pre-installed PDF viewer or editor. However, this doesn't mean you're out of luck. Web-based PDF editors like DocFly are incredibly handy for Chromebook users.
These online tools are accessible from any device with an internet connection, making them a versatile solution for your PDF editing needs. With a variety of free and paid options available, you can easily annotate, edit, and convert PDF documents without needing to install any software.
Step-by-Step: Editing PDFs on Chromebook with DocFly
DocFly is a simple, easy-to-use web-based PDF editor with many useful functions, including digital signatures, file compression, PDF splitting, and document merging. To start editing a PDF with DocFly, follow these steps.
Step 1: Navigate to DocFly on Google Chrome
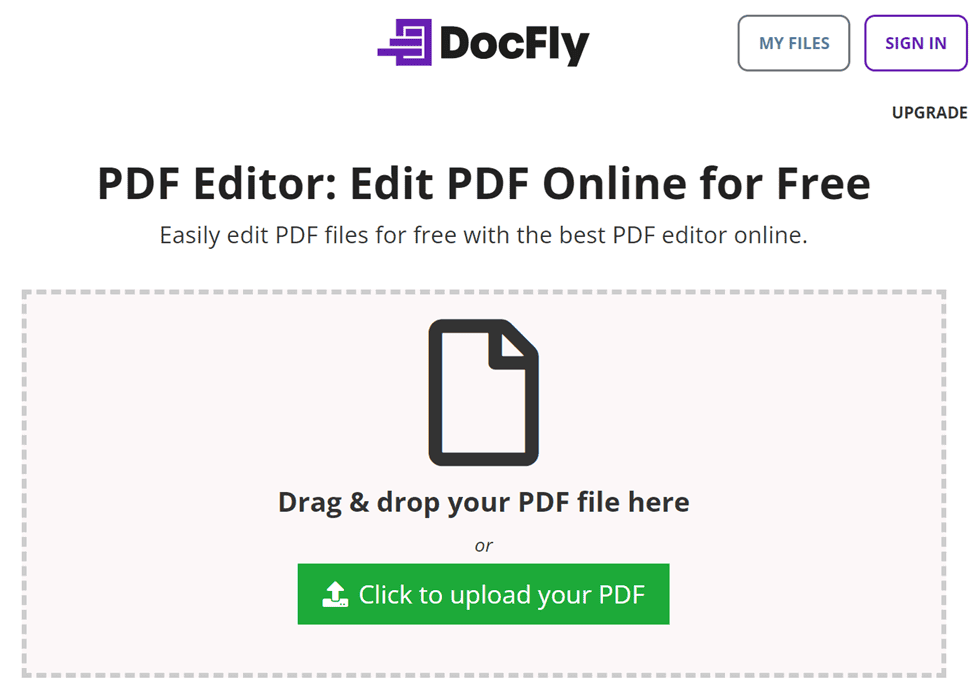
Open your Google Chrome browser and access docfly.com.
Step 2: Select the Editing Feature You Want to Use
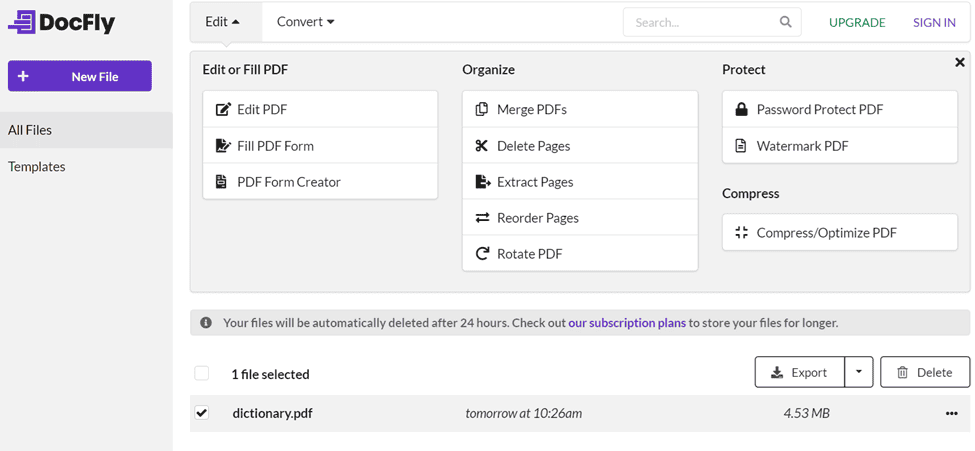
Once on the DocFly homepage, you can opt to directly upload your file to the Dashboard and start editing it or click on view all tools to see the full list of features at your disposal. Select the one that suits your needs.
Step 3: Upload Your PDF File
After you've landed on the tool you want to use, you'll notice a file drop zone in the middle of the screen. Drag and drop your PDF file into this area to upload it automatically. If your PDF is stored in a specific folder and dragging isn't convenient, click the 'Upload' button to open a file explorer. Navigate through your personal folders to select the file manually and open it to upload.
Step 4: Start Editing
After uploading, the DocFly interface will open, and you can start making changes and adjustments to your PDF. Here, you will have access to the full toolbox of features so you can make all your edits at once. You don't have to save and reupload every time you need to use a new DocFly feature.
Step 5: Download Your Files
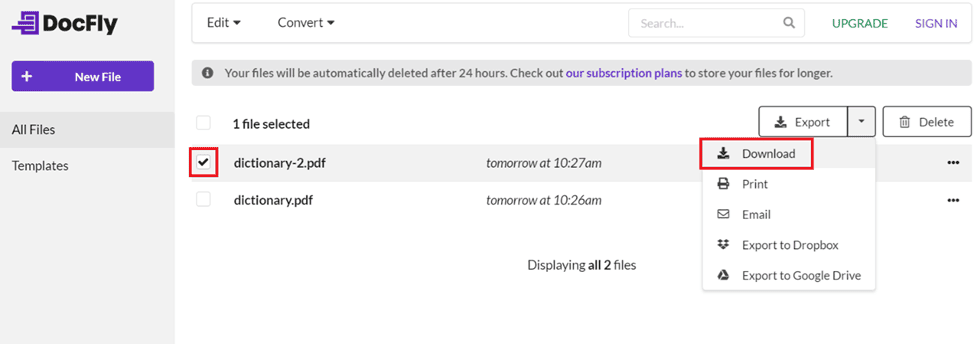
Once you've finished editing your PDF, click the "Download" button to save the edited file to your Chromebook. Your document is now ready for use with all your modifications.
Tips and Tricks for Efficient PDF Editing on Chromebook
Editing PDFs on a Chromebook can be quite simple, but if you really want to master editing on your Google device, here are a few tips and tricks.
Step 1: Use Google Drive and Google Docs
Google Drive is your best friend when working with PDFs on a Chromebook. Upload your PDF to Google Drive, then open it with Google Docs. Google Docs converts your PDF into an editable document. While this method might slightly alter the formatting, it's great for making quick text edits of simple PDFs.
Step 2: Edit Within Your Chrome Browser
Though the features are limited, you can actually make simple annotations and markups within your Chrome browser. Find your PDF in your files, right-click, select "Open with," then select "Chrome."
Step 3: Utilize Online PDF Editors
Web-based PDF editors like DocFly offer comprehensive editing tools. You can access these platforms through your Chrome browser, upload your PDF, and start editing. Features typically include text editing, annotation, form filling, and conversion to other formats.
Step 4: Use Keyboard Shortcuts
Certain PDF editors can be a bit finicky with mouse-click commands. If you are used to right-clicking to modify text, you might find memorizing a few keyboard shortcuts helpful. For example, using "Ctrl + C" to copy and "Ctrl + V" to paste can save time when manipulating text. Learning these commands can also make you quicker and more efficient at editing PDF documents.
Other Methods to Edit a PDF on Chromebook
If the previous methods don't suit your needs, here are a few alternative approaches to consider.
Method 1: Use Android Apps from the Google Play Store
Chromebooks support Android apps, which means you can download PDF editing apps like Adobe Acrobat Reader. These apps provide robust editing features, including annotating, signing, and sharing PDFs.
Method 2: Use Linux on Chromebook
For more advanced users, running Linux on your Chromebook opens up additional software options. Tools like LibreOffice Draw can be used to edit PDFs in a more traditional desktop environment.
Method 3: Convert PDFs to Word Documents
Sometimes, converting a PDF to a Word document can make editing easier. Use online tools like DocFly for conversion, then make your edits in a word processor before converting back to PDF.
Mastering PDF Editing for Simplified Document Management
With the right tools and techniques, editing PDFs on a Chromebook is entirely possible. Whether you opt for Google Drive, Chrome extensions, online editors, or Android apps, each method offers unique benefits to suit different needs.
By mastering these tools, you can streamline your document management processes and ensure your Chromebook remains a versatile device for all your PDF editing requirements.

Emily Shaw is the founder of DocFly. As a software developer, she built the service from scratch and is responsible for its operations and continued growth. Previously, she studied engineering at the University of Hong Kong and mathematics at the University of Manchester.
Loved what you just read? Share it!